Stylophone Workshop
Overview:
Fall 2025
As a officer in the IEEE Projects Comittee at Penn State, I led a Build-Your-Own-Stylophone workshop where 45 students got to learn and practice soldering, and take their very own stylophone home. I verified the design we had chosen, made necessary adjustments, and coordinated with representatives from the Penn State learning factory, who sponsored the purchase and production of materials.
Verifying the schematic:
I used this online tutorial as inspiration, and made a couple adjustments. I removed the physical USB-A port and aux output, in favor of exposed pads. This kept that cost of components down and make it easier to solder.
Building the breadboard prototype:
Next, I put the schematic on a breadboard to make sure everything worked properly. Initially, I wasn’t getting any sound out, but after poking around with an oscilloscope, I realized that I had used the wrong C1 capacitor value. This capacitor controls the timing pin of the LM555 chip, so it made the frequency way too low. After a quick swap, the circuit buzzed to life.
Final Demo:
With the circuit working and verified, we sent our PCB design off to be manufactured. While that happened, I organized the production of 3D printed cases and laser cut acrylic sheets for the stylophone’s case.
After the PCBs arrived, I put together a final prototype — and was immediately glad that I did. I noticed that the keyboard was flipped, and that we would have to reverse the order of resistors for the workshop.
This stylophone definitely has an “analog warmth” that some might call “out of tune”, but it works well enough to play a short melody without issue.
Workshop Day:
In the days leading up to the workshop, I helped assemble 45 kits to ensure the workshop could be completed in around 2 hours.
On the day of the workshop, I presented an overview of the project, gave a crash course on soldering, and assisted with any issues participants were running into. Overall, it was a great success!

Figure 1: Modified stylophone schematic
Figure 2: Stylophone breadboard demo
Figure 3: Final stylophone demo
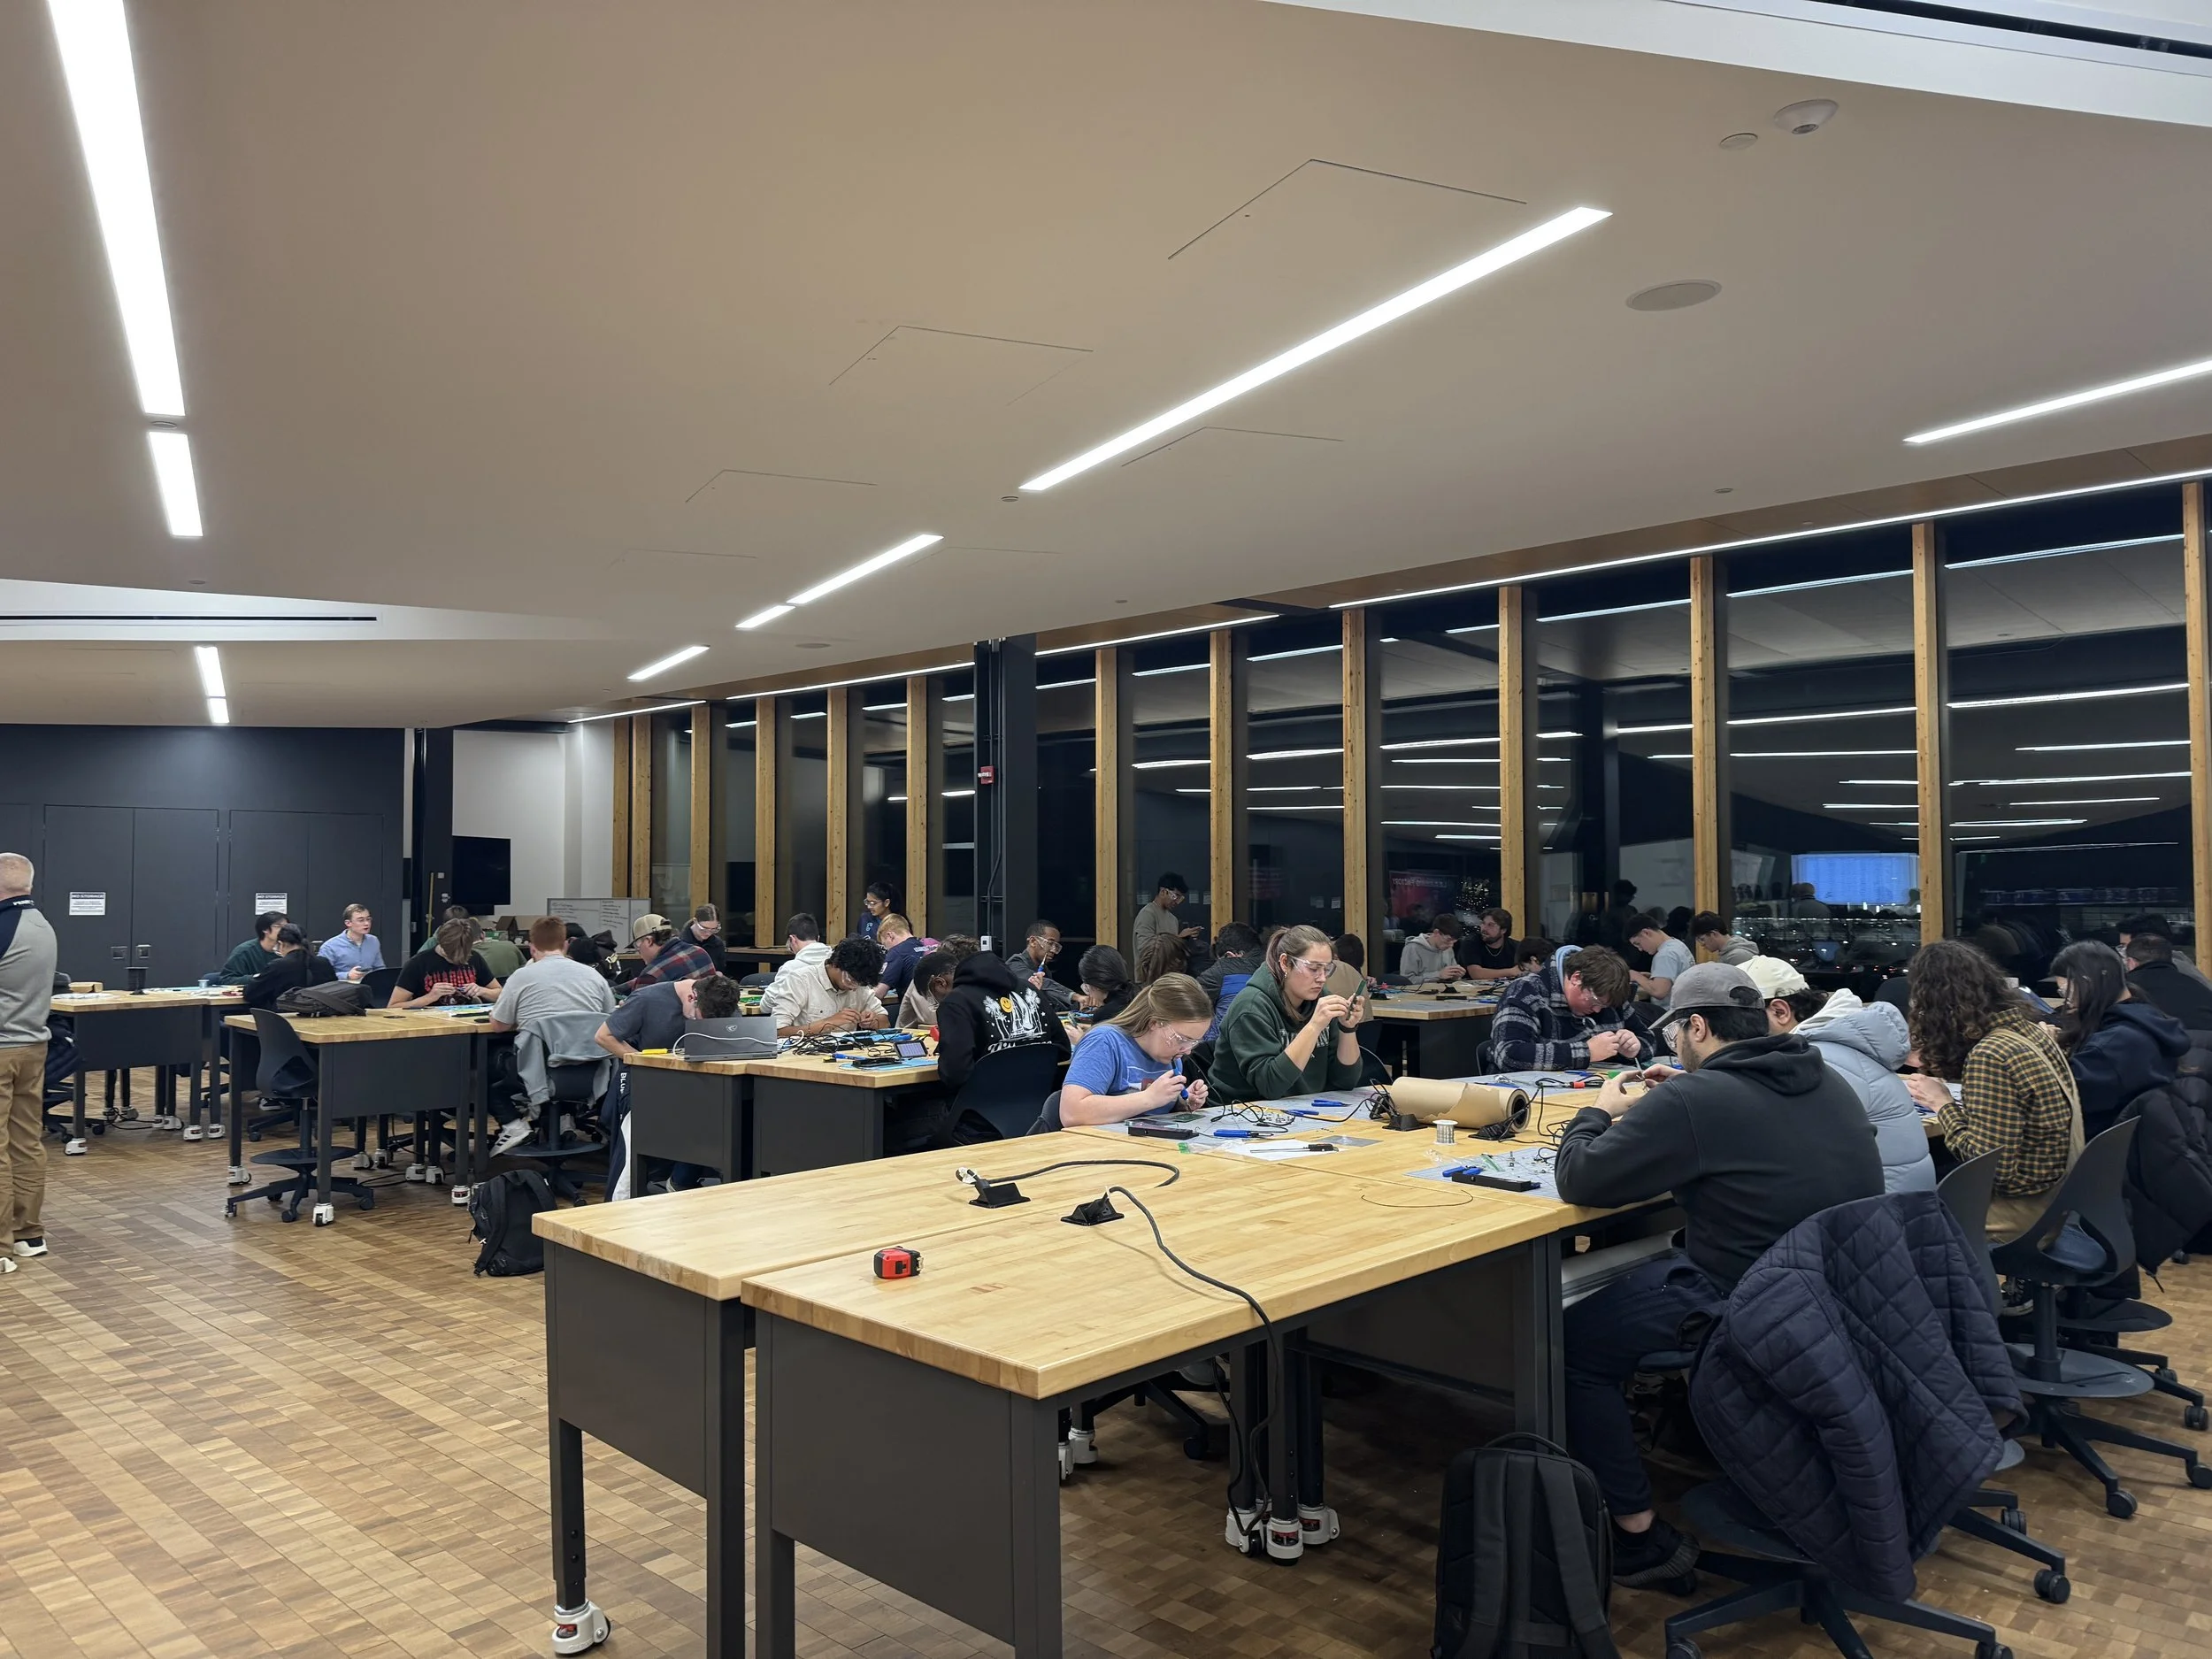
Figure 4: Participants soldering stylophone kits